Draw, Highlight, and Add Text Inside Your OverRec Rectangle
- Metaphor Projects
- Application
- 21 Sep, 2026
A screenshot can show the problem. A circle around the right button and a short note can explain it. OverRec’s new annotation tools let you add that context directly inside the rectangle you want to capture.
Draw freehand, outline a control, or place a text label over the screen. Adjust the color and transparency, then show your annotations during a screen-sharing meeting or take a screenshot with them included. It all starts from the same rectangle you already use for precise screen capture.
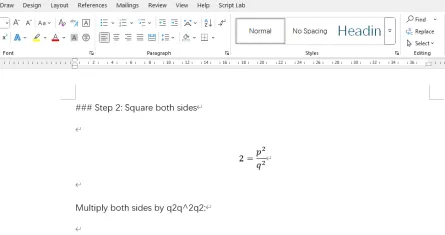
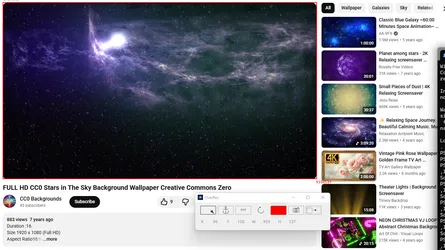
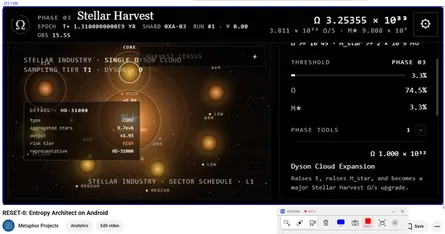
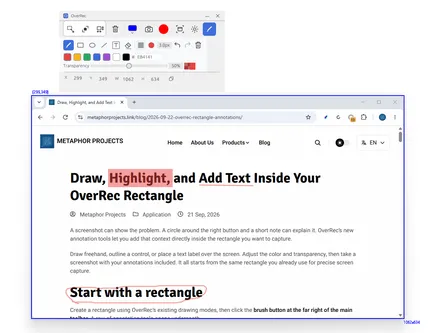
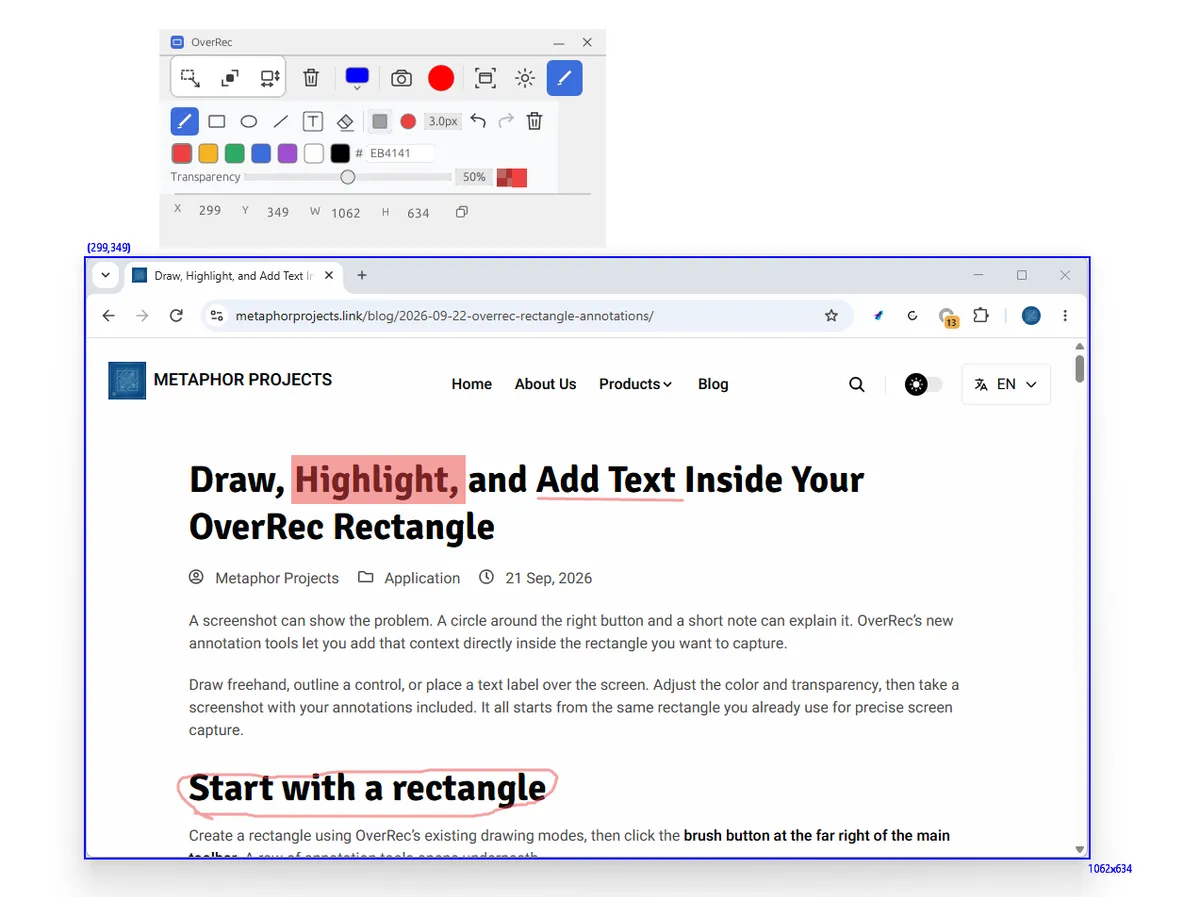
The screenshot above shows OverRec annotating this very article: a translucent highlight over a word, an underline, and a freehand outline around a heading.
Annotate during online meetings
You can use OverRec alongside any online meeting app that supports sharing your Windows desktop. OverRec draws on top of the content you are presenting, so the same annotation workflow can accompany a design review, a remote lesson, or a live product demo.
Meeting apps such as Zoom, Microsoft Teams, and Google Meet offer screen-sharing options. To include OverRec’s overlay, share the entire screen or monitor containing your annotations. Sharing only an application window or a browser tab may leave the overlay out, because it is a separate window on your desktop.
- Open the page, document, or app you want to explain and draw an OverRec rectangle around the relevant area.
- Start sharing that screen in your meeting app, and check the shared view to confirm the annotations are visible.
- Use the brush, shapes, or text to point out details as you talk. A translucent rectangle can highlight a passage while keeping it readable.
- Collapse the annotation tools when you need to click or scroll in the underlying app. Your marks remain visible; clear or redraw them as the content changes.
Participants can follow your annotations through the shared screen without installing OverRec. After the discussion, capture the annotated area to keep a visual note of what you explained.
Start with a rectangle
Create a rectangle using OverRec’s existing drawing modes, then click the brush button at the far right of the main toolbar. A row of annotation tools opens underneath.
Your drawing stays inside the selected rectangle. Even if you drag beyond its edges, no marks are left outside the capture area.
Click the brush button again to collapse the annotation tools. Your marks remain, and you can adjust the rectangle’s edges or interact with the app underneath again.
Mark the details that matter
The tools cover the everyday work of explaining something on screen:
- Brush: sketch freely, underline a phrase, or trace an area of interest.
- Line: draw a straight line between two points.
- Rectangle and ellipse: frame a button, circle a value, or outline a panel. Switch between outline and filled shapes.
- Text box: drag out a box, then type in the editor below the toolbar. Text supports multiple lines, automatic wrapping, and adjustable font size. Click Apply text to commit it.
- Eraser: remove part of a mark without clearing the rest of your explanation.
For a bug report, you might frame the affected panel, draw a rectangle around the failing control, and add “Clicking here does nothing.” For a tutorial, a few text labels can identify the controls a reader needs to follow.
Control color and transparency
Click the color dot to choose a preset color or enter a custom six-digit hex color. Adjust the stroke width for a fine underline or a more visible outline.
The same panel includes a transparency control and preview. 0% transparency is fully opaque; 100% is invisible. A filled shape with some transparency can highlight a detail while letting the content beneath it remain visible.
Transparency applies to new annotations and the text you are currently editing. Existing marks keep their own appearance, so you can combine a translucent highlight with an opaque text label.
Revise without starting over
Undo and redo work on annotation actions, including erasing. To start your explanation again, use the trash button in the annotation row: it clears the annotations while keeping your rectangle. The main toolbar’s trash button still removes the rectangle itself.
Annotations follow the rectangle when it moves. If you resize it, marks keep their position relative to its upper-left corner and are clipped to the new boundaries. Creating a new rectangle or switching the drawing monitor clears the old annotations, so finish capturing before moving on to another area.
Capture the explanation
Take a screenshot as usual. OverRec automatically includes the annotations in the captured image, ready to share in an issue, a document, or a message.
Visible annotations also appear in screen recordings. Add labels to explain a demo, then collapse the annotation tools to interact with the underlying app while your notes remain on screen.
From a quick bug report to a walkthrough, you can now frame an area, explain what matters, and capture it in one place.
Get OverRec from the Microsoft Store, or explore more on the OverRec product page.